
Not knowing how to use a stud finder is intimidating because you risk breaking your TV, mirror, or favorite picture. Surprisingly, most people don’t know how to properly use one. In fact this tool is one of the easiest, and least expensive tools out there. Now let’s walk through the 5 simple steps on how to use a stud finder.
What A Stud Finder Does
Stud finders are electronic tools we use to locate studs (wall supports). There are two types of studs used in construction, wood studs and metal studs. Wood studs are the predominant option in residential settings.
The tool has a sensor that tells the user where a stud is located behind the finished surface of the wall (usually drywall). It will make a constant noise and shoot a laser on the wall to signal the edge of the stud.
How To Use A Stud Finder
Some stud finders have several settings to choose from. Stud scan is used to locate studs through one layer of drywall up to ¾” (three quarters of an inch) thick. Use stud deep scan is used to locate studs up to 1-½” deep.
Use stud scan mode to find studs behind one layer of drywall, mud, tape, texture, and paint. Deep scan runs the risk of detecting wiring and plumbing further back.
The stud finders that don’t have two options use deep scan mode. I prefer ones that have both options. There is also a metal scan mode, but we don’t need that one for home use.
Stud finders generally have one button on the side where your thumb or index finger would be. Some have a button on each side, and either can be pressed to turn it on. Read the instructions that come with your model to understand how to use it correctly.
Step 1:
Locate the rough location where you want to hang your object. This is not always going to be the final spot it will hang, but it will be nearby.
Step 2:
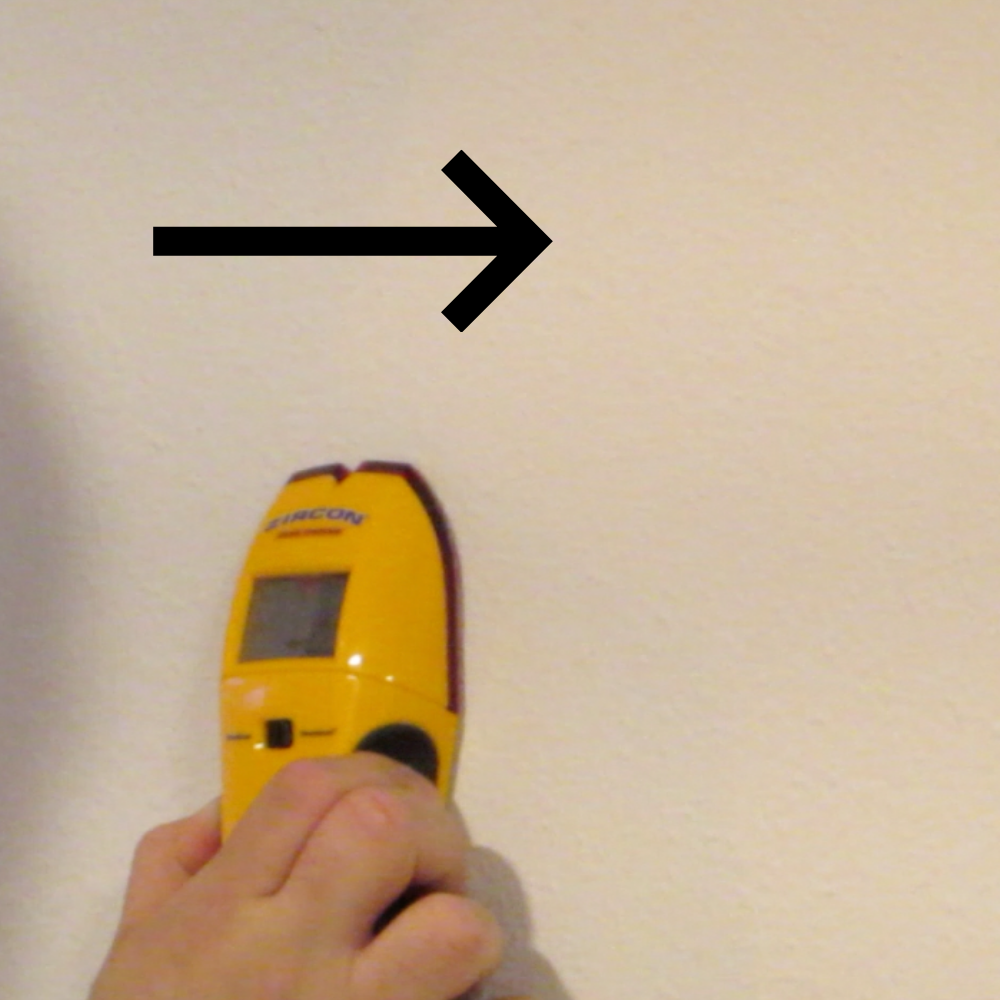
Place the flat surface of the stud finder on this spot. Press and hold the button while sliding the device horizontally along the wall. Go at a steady pace while still maintaining contact with the wall.
Step 3:

When you get a signal stop sliding the stud finder. Using a pencil, make a mark on the wall where the laser was. This is the edge of the stud.
Step 4:

Go about a foot past the mark and place the stud finder on the wall again. Press and hold the button and begin sliding towards the mark. Stop sliding when you find the other side of the stud.
Step 5:

To be sure this is where the stud is, use a small drill bit to drill a hole midway between the two marks. This will verify you found a stud, and the tool did its job well. If you don’t have a drill with a small bit handy you can use a hammer and nail instead.
Frequently Asked Questions:
Why do stud finders not work?
One common reason why a stud finder might not work is it is a magnetic type. It needs to find a screw or nail fastener in the wall to make a signal. It may have a hard time detecting them.
Another reason the stud finder is not working properly is because it is low on batteries. Try changing the battery if you notice it is having difficulties. If you don’t have new batteries on hand try taking the old ones out and putting them back in.
Types of projects that require a stud finder?
Some of the most common projects are hanging televisions, heavy mirrors, or anchoring furniture to the wall. Remember that a stud finder is used to drill into a supportive stud in the wall. This can be used to anchor anything you need to.
Do you really need a stud finder?
No. A stud finder is helpful, but not always necessary. The trained ear can tell where a stud is by tapping a hammer along the wall. The stud should make a heavier, less hollow sound.
Once a potential stud is located take a nail and tap it with the hammer in that location. If there is a stud it will be hard to drive the nail in. if no stud, move it a half an inch and try again. Keep doing this until you find the stud.
To locate nearby studs simply measure 16″ over. When walls are built the studs are placed 16″ apart. This is not always the case especially when you get close to corners, windows, or doors. Take a look at my article on How To Read a Tape Measure to learn more!
Conclusion:
A stud finder is a helpful tool that is simple enough to be used by anybody. They are much more accurate and less damaging to the wall than the alternatives. I hope this article was helpful for you. Please leave me a comment below if you have any questions, or would like to mention something I left out.
Happy Woodworking,
-Kevin