
Do you want to know what the right tools to start a woodshop are for beginners? It can be difficult sometimes to pick out what the best woodworking tools are for beginners.
Do you also not have a lot of money to spend on tools for your woodshop, and want to get the biggest bang for your buck? There are a lot of quality tools on the market today that don’t cost a lot of money.
Keep reading to the end of this article where I will have a list of exactly what tools you want to purchase, and where to get them.
What tools does a beginner woodworker need?
In this post I will show you what the right tools to start a woodshop for under $1000 are. First you are going to need to think about a few things before you purchase.
There are so many different types of projects for a beginner woodworker to make, but there are still going to be a basic set of tools that can do almost everything you are going to do. I would consider this group of tools to be the essentials.
A Few Factors to Consider Before Purchasing
Space is a crucial limiting factor to consider. No matter what the project is we are working on, we are going to need a space to work in. This can be anywhere from a kitchen or outdoor patio, to a designated shed/woodshop.
Many people will use a designated corner of the garage. But it’s okay if we are not lucky enough to have a garage available because there are other options.
When possible I like bringing my tools into the yard or driveway to give me a little more room to work in, and fresh air as well as natural lighting. But this isn’t always possible, so it’s best to have a place you can work on your projects inside.
A craftsman can be limited by the quality of their tools. This doesn’t mean we can’t do what we are trying to do with less expensive tools. Keep what you have in good condition and it will serve you well for many years.
This article will start you with a list of the basic tools you are going to need, but this is a stepping off point. There are more than what’s on this list to consider buying. It’s going to depend on what projects you are working on.
Essential Woodworking Tools for Beginners
Many woodworkers can specialize in building different types of projects that may require more specific tools than others. There are some tools that are not as commonly used, especially for a beginner woodworker. I avoid buying the ones that are going to just take up space in my shop.
I am going to split the tools we want into two different categories. The most frequently used and best to learn with would be hand tools. I will cover these later-on.
The first category I want to cover are power tools. There aren’t too many you will need in the beginning.
These are all tools that I like and consider good quality. Let’s take a look at the top 10 woodworking tools to start a woodshop for under $1000.
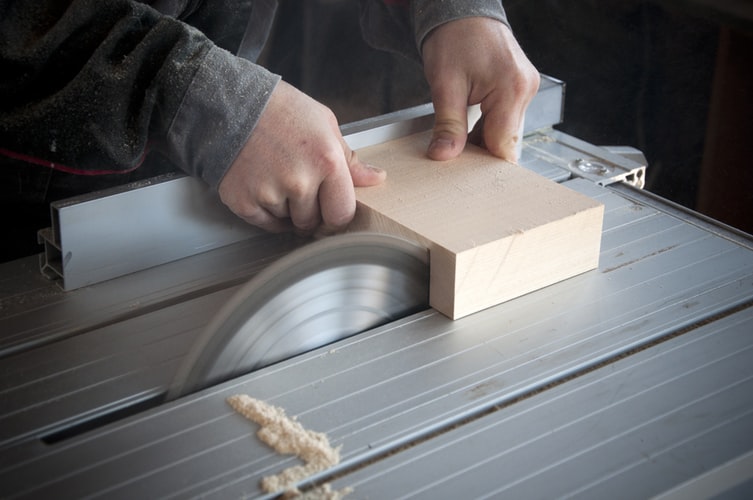
Tool #1: Table Saw
A good Table Saw is one of the most valuable tool to start a woodshop. There are two different options when it comes to deciding what to get.
The first option is the stationary models. These are meant to remain in place in your workshop. The main benefit to this is it is a lot more stable, especially if you anchor it to the floor.
A huge downside is they can be a lot more expensive than their portable cousins.
A nice workaround to this is if you get yourself a compact model. Generally you will consider this model if you have a workbench you can set it on. The other time these are ideal is when you are a contractor and need to take it to a construction site.
This leads me to the other option, which is also my personal choice in table saws. I like the portable table saw.
These will have legs that elevate them to a comfortable working height. I like this option because there are days when I want to do my woodworking outside. There is nothing like working in the fresh air and nice weather.
The benefit is when the weather turns foul I am able to bring my saw indoors to do my woodworking.
My post on How to Use a Table Saw in 5 Easy Steps walks you through all the steps on using a table saw. It also covers some important information that’s needed to be understood before starting to use one.
Tool #2: Cordless Drill
There are several things to consider before you purchase a drill for woodworking.
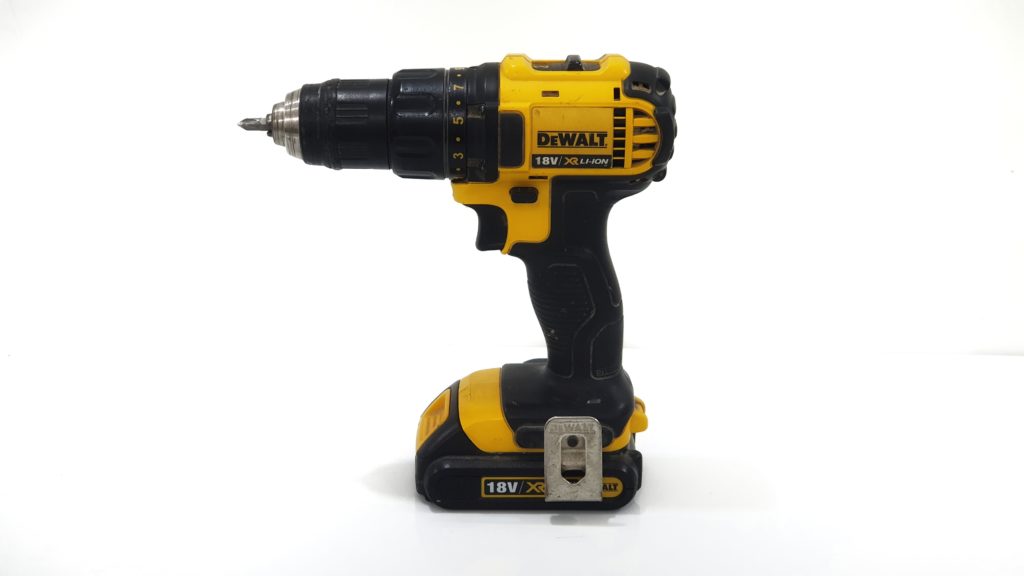
The first is do you want to have a corded or cordless drill. They both have their pros and cons. I own one of each, and I will tell you what I like and dislike about either of them.
Cordless Drills are going to have a constant level of electricity supplied to them. This is nice because you don’t need to worry about the battery running low when you are in the middle of a project.
One thing that I don’t like about corded drills is the cord will hang down below you. It tends to get in the way more often than not. It also is uncomfortable to me to be walking on power cords.
A corded drill is sometimes less expensive than a cordless. You can get a great product for a reasonable price, but with the cord also comes a few things you need to consider.
Cordless drills are great in that they are a lot more versatile. I like that I can take mine to different places without needing an electrical supply nearby. This is especially nice when I am working in the yard and there isn’t an electrical outlet nearby.
I love it when my tools have a built-in light that illuminates my work! It may not seem like much, but when you are in the middle of a job and you have that led light directed on what you are working on, it improves accuracy and minimizes mistakes.
The downside to cordless drills is when you run low on charge in the battery. The solution to this is when you are given two batteries with your drill set you can always have one on the charger while you are working. By the time the current battery loses its charge the other one should be ready for you.
I don’t recommend leaving any batteries on their chargers while you are not working on a project. This can cause a reduced lifespan for the battery over the long run. Eventually it wont hold a charge as long, and you will need to invest in a new battery.
When you have a spent battery that needs to be replaced, please don’t throw it in the trash. This is very bad for the environment.
Some hardware stores have bins you can put them in where they will recycle them for you.
To sum it up, I would recommend getting a cordless drill. They are a lot more user friendly, and you are going to appreciate the versatility they have in your woodshop.
Next we get into the hand tools selection. Working with your hands can be very relaxing. You get a sense of feeling more connected to your project as you can see every detail in the materials you are working with.
My post on Hammer Drill Vs Impact Driver discusses the differences between these two. Here you will be able to decide which one is better for your woodshop.
Tool #3: Miter Saw
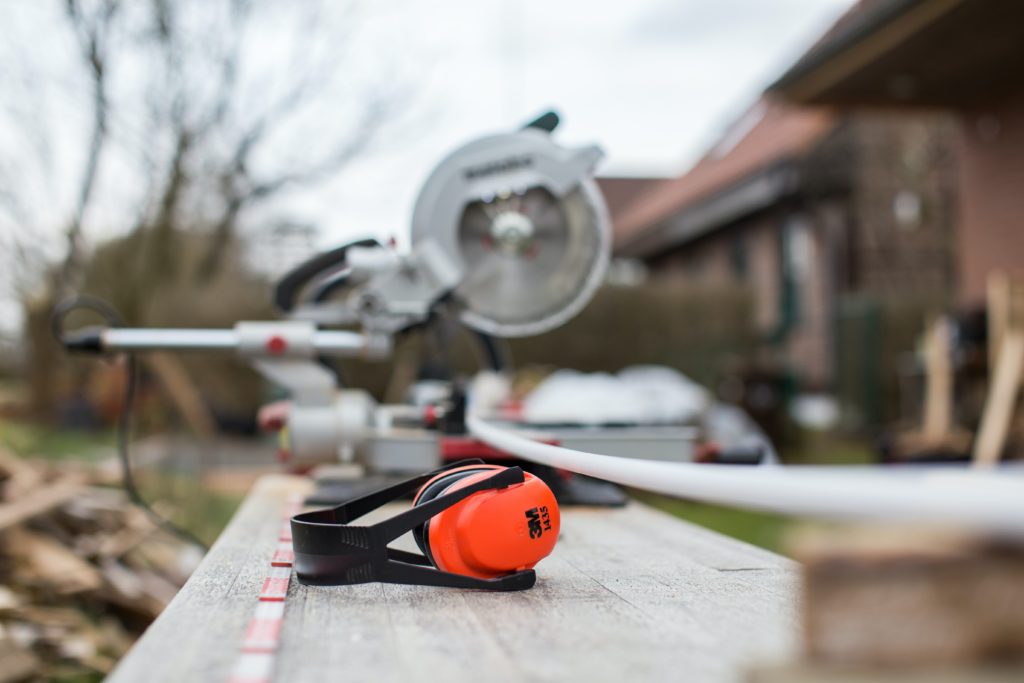
The Miter Saw is probably going to be the most frequently used tool in your arsenal. They are great at cutting the lumber to proper dimensions, relatively quickly.
The miter saw is such a crucial part of the woodworker’s shop. There are so many uses for them that I wrote an article to cover these. Read my article called How To Use A Miter Saw to learn more.
A compound miter saw is one where the blade pivots on the “Y-axis”. This is especially nice when you are cutting molding, or other decorative/small pieces that need to fit together nicely.
Some table saws have a sliding ability on the blade. This allows you to cut wider pieces of material. Although I have one like this in my shop, I don’t recommend it for the beginner as they are more expensive up front. The table saw can be an option to get something like this done.
Tool #4: Random Orbital Sander
To me this is one of the most important tools in a woodshop. The Random Orbital Sander is an electric sander that comfortably fits in the palm of your hand.
The reason why they are called “random” is because the sanding disc doesn’t always spin in the same direction. It can switch from clockwise to counter-clockwise during the same project. One benefit to this is it is going to be less likely to show swirl marks in the material afterwards.
I love mine because the size of it makes it a versatile tool that can have many creative applications. The sand paper sticks on the sanding disc with Velcro and is quickly changeable. The paper comes in many grit, much like conventional paper.
The downside is when using this tool, the paper can be a little more expensive than basic sand paper. And because it has a special backing to it the two are not interchangeable.
This is okay because the orbital sander paper is very durable and lasts a long time. It seems like the lifespan of the orbital sander’s paper is much longer than conventional sand paper.
Tool #5: Jigsaw
I don’t use the Jigsaw as often as the above tools, but when I do it makes my life so much easier. This is another versatile tool that gets used enough for me to add it to the list of essential tools to start a woodshop for beginners.
Multiple blade types are offered. The jigsaw is designed to cut wood, metal, and plastics. The blades are very quick and easy to change, making it a breeze when in the middle of a project that has different materials that are used.
The jigsaw can be used for making non-linear cuts in relatively thin materials. It can also be used to cut material in hard-to-get-to locations or positions.
An example I can give for when I chose a jigsaw over any other tool in the shop was when I was installing new laminate flooring. There were a lot of locations in the house that the flooring needed to wrap around corners or nestle under doorways. The jigsaw was crucial because it allowed me to make these cuts in a very precise way.
I have also used my jigsaw in ways like this while building cabinets or other pieces of furniture. I love having a jigsaw in my shop, and I know you will too.
Tool #6: Circular Saw
There are so many uses for a Circular Saw. I tend to use mine for long cuts on sheets of plywood. These cuts don’t always need to be straight, and they usually are in spots where the material won’t fit through the table saw very easily.
I made an article that gives more information on how I use my circular saw. It’s called How To Use A Circular Saw – A Quick and Easy Guide.
Simply clamp a straight edge on the material in a location where the edge of the saw can slide against it during the cut, and the blade will line up with your mark. This will give you a pretty straight cut in the end. It takes some practice before you are comfortable with cutting material this way.
This article talks about the basics for starting a woodshop for beginners. The tools in this list are a starting-off point. I want you to get an idea of what tools a beginner needs to start building a woodshop.
The next part of the article is going to discusses the essential woodworking tools that I would put in the category of hand tools. They do not connect to electricity, and they don’t have a built in battery either.
The hand tools are going to be the most used tools in your workshop. I know some people only work with hand tools. This is a respectable way to work, but I prefer to use electric tools in combination with hand tools. I prefer to get the job done quicker and more easily.
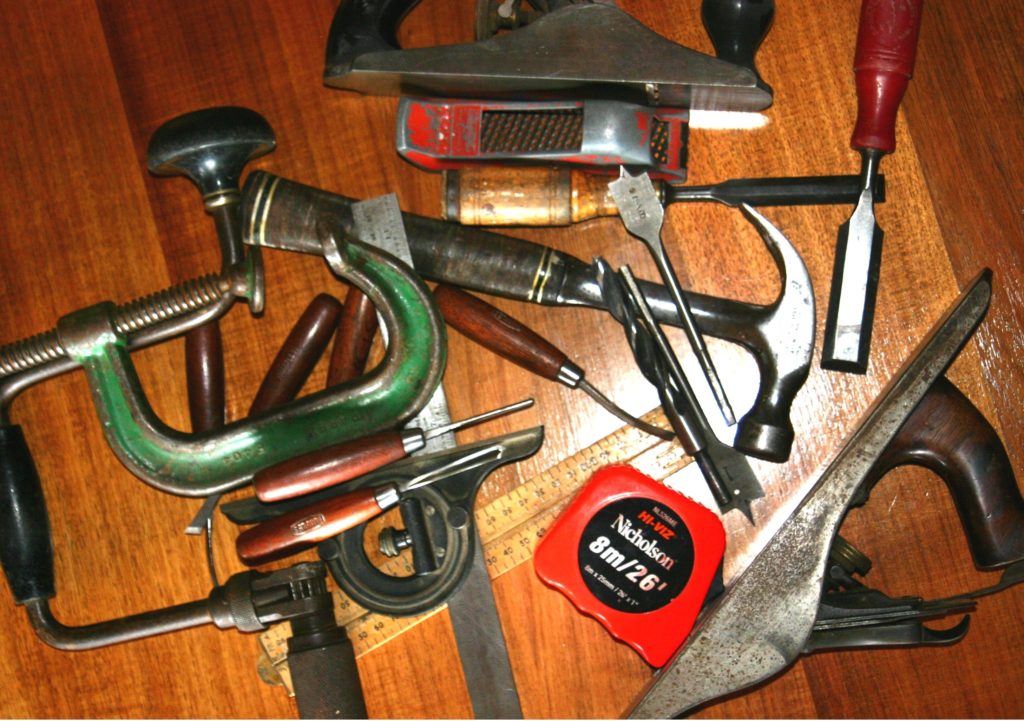
Tool #7: Bar Clamp
There are many different types of clamps to consider. The basic ones I would recommend are going to be Bar Clamp. I prefer the clutch style bar clamps because I feel like they have a stronger grip than the squeeze tight clamps.
You are going to want to get at least 4 clamps. I would start with 36” clamps, unless you know the projects you will be working on are longer than this. I have an assortment in my workshop. These are going to be close enough in price to the 24” models to justify the difference.
One downside to the clutch style bar clamp is it’s possible to damage your material at times. If you are working with a soft material, or you tighten it too much on accident there may be a round mark where the clamp made contact.
One solution is while you are getting used to how much pressure your material can take, put a small block of wood between the clamp and the material. This will disperse the pressure over a larger surface area, preventing possible damage.
Tool #8: Wood Chisel Set
A good Wood Chisel Set is a crucial for a great woodshop to have. There are so many uses for them, I can’t cover them all.
There are more than just wood chisels on the market. Mason chisels cut materials like bricks and concrete. These are not going to be used in a woodshop, so we won’t consider them here.
Carving chisels are used to carve intricate designs into wood. This is more of an intermediate to expert level tool, so it won’t be discussed in this post about starting a woodshop for beginners.
I like having a set of multiple width chisels. There will be times when we need to cut a certain joint in the materials. One of the chisels will be the exact width we need, giving us a perfect fit every time.
Tool #9: Mallet
The mallet is different from your hammer because it is not meant to drive nails and it shouldn’t mark up the material when you use it. A hammer can dent and damage your material very easily.
Use the Mallet when your material is clamped together. You want to get the edges lined up before fastening them. The mallet will let you tap one piece while they are clamped until they are in the right position.
I like to have the mallet in one hand and my other hand will be touching the seam of the materials. I tap on the piece that is sticking out until they are flush. Sometimes I need to fasten them together before moving down the seam to where the next screw will be driven in.
Tool #10: Countersink
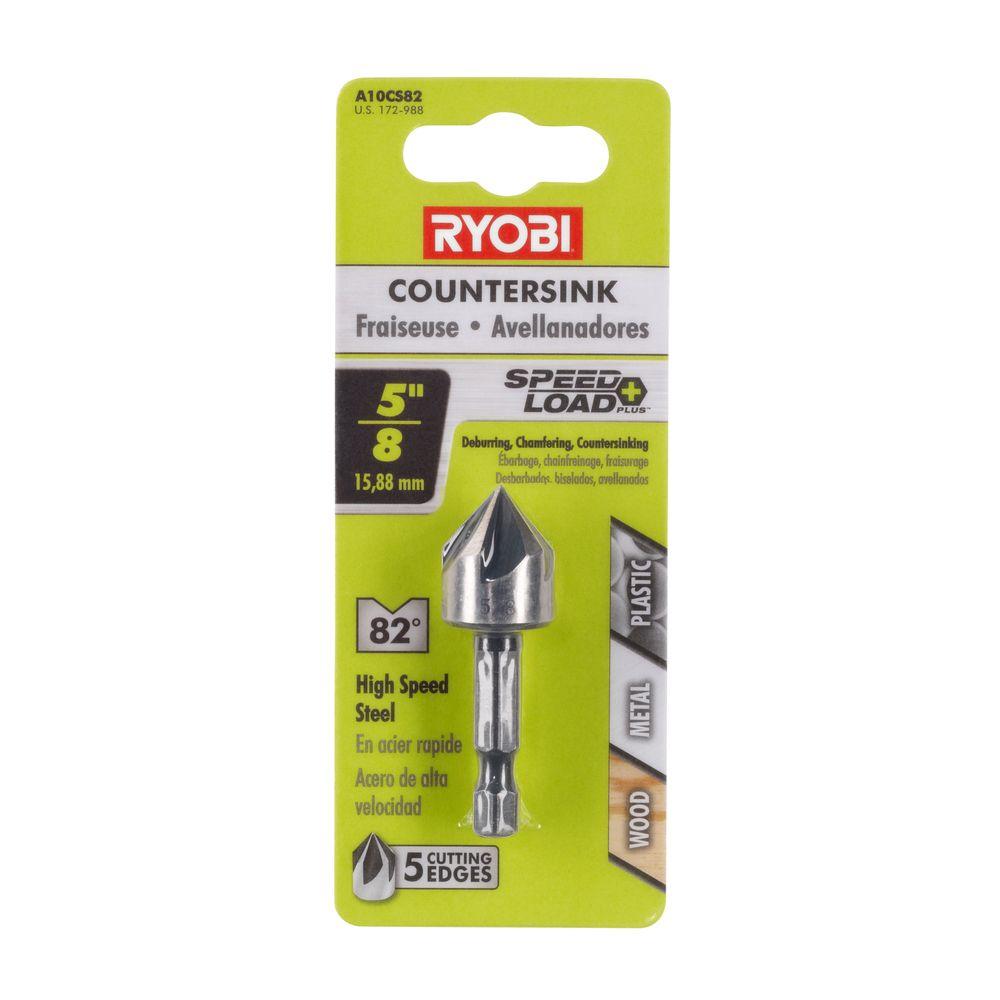
The Countersink is irreplaceable to a woodworker. What this tool allows you to do is to sink the head of a screw into the material, making it hidden. You can even fill in the hole with wood putty before painting, or glue a piece of a dowel in above the head of the screw to make the material flush.
The counter sink works in conjunction with drill bits. To sink a screw in the material using a countersink, first you will need to drill a pilot hole. Clamp the two pieces together and tap them until flush using your rubber mallet.
Next take the appropriate size drill bit to drill the pilot hole. Drill the hole accurately and to the right depth. Next switch the drill bit out with the countersink. You will want to drill a countersink hole to be about the width of the head of the screw.
Use flat head screws because they are going to fit the right way. They will be flush with the surface of your material, and the head tapers towards the threads kinda like a funnel shape. This will fit perfectly in the countersink hole.
I prefer to make it one step easier and start with a Tool Set. Then I will add to them when needed.
What Tools do I Need For a Woodworking Shop?
- Table Saw
- Cordless Drill
- Miter Saw
- Random Orbital Sander
- Jigsaw
- Circular Saw
- Bar Clamp
- Wood Chisel Set
- Mallet
- Countersink
There are a few other tools I think you should have as well. These tools are more like accessories, as well as safety equipment. I am not listing them in any particular order.
Hand Tools Set
I am lumping a group of tools together instead of giving you just one. Here is a list of some of my most used tools:
- Tape Measure
- Carpenter Pencil
- Carpenter Pencil Sharpener
- Utility Knife
- Utility Knife Blades
- Extension Cords
- Screwdrivers Set
- Safety Glasses
- Combination Squares
- Drillbit Set
- Wood Glue
This list will not stop growing over the years. There are always going to be specific tools that make the job much easier and more fun. This list will get your started, but is by no means meant to be all the tools you buy.
I hope I could give you a good starting point to building a workshop for under $1000. I know it’s possible. With all the right tools, you can have a fun shop to work in for many years.
Happy Woodworking,
Kevin